
Phrenology Chart Cross Stitch Design

This may be design number 20-something that I've published, but my Phrenology Chart cross stitch pattern is actually one of the first patterns that I designed. I've spent a little over a year working on and off during the test stitching phase and I am so excited to reveal the final design.
If you're asking yourself why I went through the trouble of dedicating over a year to test-stitching before publishing, you can read more about my general thoughts on how important test-stitching patterns before publishing them for sale is in a previous blog post here. However, it was very important for me to get this pattern just right and I'm so happy I followed through with thoroughly critiquing it before its release. Tastes, techniques, and design abilities change a lot within a year, so this design went through a lot of changes for the better. Whether you've purchased this pattern and you're looking for tips and tricks on how to make the project turn out great or you're interested in the design and stitch process, this blog post is for you. Today, I'll take you through my inspiration for the design, how I prepared to stitch it, and the stitching process itself.

Inspiration
It's no secret that I'm a psychology graduate student, so I'm sure you can guess the inspiration for this design had something to do with that. Well, you'd be absolutely right! Back in the day, a physician named Franz Joseph Gall founded the concept of phrenology, which postulated that measurements and bumps on the human skull indicated different personality traits. There numerous images of phrenology charts, and the design for this pattern was loosely based on some of them. The areas of the brain indicate these different traits, but of course I had to adjust the chart to be a) do-able, and b) less detailed to fit into a cross stitch pattern. Up until this design, I had worked mostly on smaller designs and puns, so I wanted to be able to offer something a little heartier to take on and boy was this design a challenge to make! I'm so happy with how it came out. Though it's not completely reminiscent of the old time medical charts, it does capture the inaccuracy of old charts pretty well. I love thinking about old weird theories that are completely bizarre today. It helps remind me that even if we think we know something today, it may be seen as just as bizarre in the future.
Preparing to Stitch
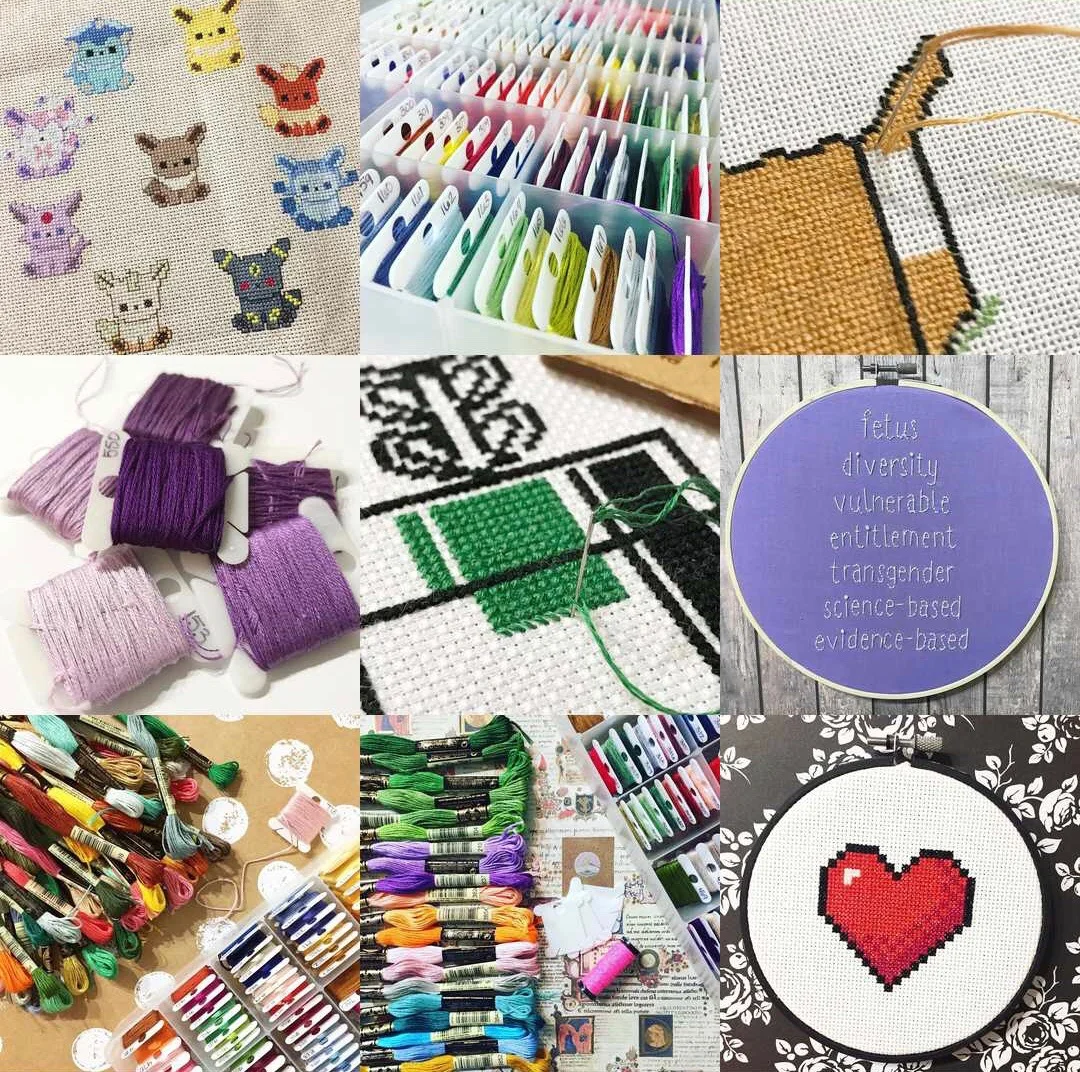
So honestly, this was the biggest project I had ever undertaken not only as a designer but as a cross stitcher myself. Sure, I had designed and completed Pallet Town before, but this was a lot of filling in and I had no idea where to start! But first, I started out with my Aida cloth.
I really wanted to capture the idea of old, worn science but with a modern and crisper twist. So, I went with 18ct grey Aida which I purchased off of 123stitch.com. In retrospect, I probably would have gone for something that looked a bit more parchment-like. Being a more advanced or adventurous stitcher today, I might have tried coffee or tea-dying my fabric or gone with a beige fabric like this one here. If you're browsing, you can see there are a lot of options!
Now, here's a HUGE reason why it was so important for me to completely test stitch this pattern. I really wanted to be able to offer advice for you on how to stitch this particular design yourself. You can probably notice that there's a LOT of flesh tone in this pattern. So, I wanted to offer some good insight into how many skeins of the flesh tone you would need without having to run back and forth to the store... like I did. Well, it's safe to say that I was able to stitch ALL of the flesh tone in a little less than 3 skeins, so I recommend that you purchase three skeins of flesh tone for this project when you're preparing your materials.

My first step was to finish the outline - here she is looking like she could use some definition.

Next, I filled in the smaller colors so I didn't have to worry about them anymore.
Stitching
Next, I set out to stitching! Now, I'm really adverse to counting. Typically, I'm a procrastinator, but with this project I wanted to get the hardest part out of the way. So, I stitched all the black before moving on to any other color. I'm not going to lie, there was a lot of hoping that the outline would match up with this! I stitched all the outlines first then continued on with the wording.
Now that this was done, I wanted to get any minor colors out of the way. Personally, I like to stitch all of some small colors when I can so I can put them back into storage and available for other projects when you're needed. So, I stitched the gray partition bits within the lobes first, then I stitched the shading for the flesh colors. Because there was white in the eyeball, I saved that for one of the last parts. I did stitch the blue iris before moving on though.

I was so excited to finally finish all the brain bits!
Aaaand here's where I hit a major motivational wall in this project. This project took me over a year to complete, but I would put it down for several months before moving on to the next part. Now that the counting was essentially done, all I had to do was fill in the brain lobes and the flesh tone. It became extremely daunting at this point, and I no longer saw major shapes taking form. I worked on this mostly while I was traveling since I didn't have to refer to a pattern to count every stitch, but mostly it was slow going. I started with the Domestic section and worked my way from left to right through the pattern. And when I finished the pink "Perspectives" section, I set it down to relish in my accomplishment. Finally, only the flesh tone left!
Once I started the skin tone, it was a lot smoother than I anticipated. I had never filled in one section with a single color as much before, but there was something cathartic about only using one color and not having to count at all. I separated it into smaller goals: finish the ear, okay now the nose, okay now around all of the writing. Before I knew it, I was on my last stitch and coloring in the lips.

Conclusion
This design was a major stitching accomplishment for me. Not only had it been my longest standing WIP before, but it was one of my first designs that pulls together multiple interests and aesthetics. It may be a big project, but it sure was worth the amazing feeling I had when I stepped back to enjoy it in its finished glory! If you're interested, you can purchase the pattern for yourself here. If you have any feedback, or would like to share your experience with a finished piece that was a major accomplishment for you, please leave some comments down below!